20,000 Leagues "North" of the Bubble
20 Jun 2021Dirkdjently
Background
So begins a new personal log at the start of a new type of journey. I have taken on a long-distance passenger, the Earl deJesus, who desires passage to a "Neutron World," a location some 20,000Ly "north" of the bubble, near Sagittarius A. This is the longest single journey I've taken based on a mission; nearly 60,000Ly (I intend on taking detours) by the time I return to the Bubble.
I will be flying my trusty Krait Phantom, once again. I refitted the Phantom with a 6C 1st Class Pax suite, downgrading the 6A fuel scoop to a 5A. I have also swapped out my normal overcharged 3A power-plant with a 5A with grade-4 Low Emissions. This represents a downgrade in maximum jump distance by about 1.2Ly, but dramatically improves my ability to refuel quickly and safely. Otherwise, the Phantom's configuration is unchanged from my "typical" configuration.
My experiences with long-distance tourism have been enjoyable each time, as passengers invariably visit interesting places. The Earl doesn't need to be at his destination for another three weeks, and it is my intention to use that time to search for new planetary bodies. Unlike the last journey, we will not be relying upon R2R at all. Rather, we will be relying upon the income from system honks and planetary discoveries.
From a practical perspective, the Phantom is ideal for passenger missions of this sort. It still has a very respectable 60+ jump range even with the largest module being taken up by the 1st Class Pax Quarters. But if you've ever looked at a Phantom, you'll know there are no windows other than the cockpit. No view at all from the passenger's quarters. Thinking from a role-play perspective, passengers would have to take the co-pilot's chair if they wanted to see anything. Makes me wish it were possible to actually have a passenger or crew-member appear in that chair. It would provide some much-needed immersion & ambiance to ED.
Pilot Tools
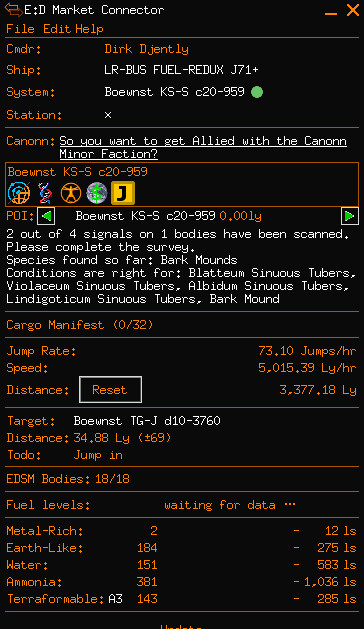
This trip I will be using EDMC, as always, but with a number of plugins. Until recently I was never able to get any plugin other than HabZone to work, but after fixing my Python environment (the language, not the ship), all the plugins I've tried have worked, save for the exception of Screenshot. This may be a Linux library issue (Pillow, perhaps), and I have not yet looked into it.
One early note: Canonn, Habzone and RSE are tools that, used together, can give you a quick idea whether or not someone has ever explored the system before. If everything comes up blank, it's probably 100% unexplored. If you've been in the black a long time and a system pops up with info, you know someone's been there before and logged the Carto data.
- Canonn - Primarily useful when visiting systems that have already been visited before, however it also displays icons about the current system (once fully scanned), giving a quick heads-up about the existence of POI's, high-value planets, harvestable materials, and mining opportunities.
- Habzone - Most useful when visiting systems that have previously mapped high-value planets. It provides no information on systems whose data hasn't formally been uploaded at Cartographics.
- Cargo Manifest - A nice reminder if you have something in the holds reducing jump range. More useful on gathering missions.
- Fuel Status - Of questionable use. Shows how much fuel you have, but so does your cockpit display.
- Jump Speed - A trip-time calculator that shows jump-rate (# jumps/hr), speed (Ly/hr), and total distance traveled. Has a reset button. Very useful for collecting baseline data on the factors that affect distance traveled per hour. There are enough lessons learned about this topic to merit an entirely new Log Entry.
- Landing Pad - Shows the location of your assigned docking pad from an outside-the-mailslot perspective. Removes docking-pad location confusion (for rotating stations, doesn't help with other station/outpost configs).
- Red Star Eliminator (RSE) - Shows the number of scanned vs. unscanned planetary bodies (i.e. 0/12, 16/16) in a system. The jury is still out on this plugin. It's somewhat informational, but depending on your FSS process, you might never look at it. It is most useful as a device for quickly determining how many, if any, planets have already been discovered in the current system. Also nice if you forget how many bodies you just scanned, instead of re-opening the FSS and waiting for the total to re-appear, you can just glance at EDMC.
Mission Decision Time
The mission has been ongoing for days now, and I am in the Mylaifai JR-W e1-2656 system, quite close (less than 40 jumps) from my passenger's destination near SagA. 40 jumps is still significant, considering each system that has planets is being FSS'd, but it is also close enough to feel the end of the original passenger mission nearing. I have kept faith with the original plan, and FSS'd every single system that had undiscovered planets. I also underestimated (bigly) the number of planets I would discover: my original estimate was about 2,000 by my return to Ceos station. In reality, I've already discovered more than 3,000.
I'm admittedly a little burnt out of frequency scanning. Part of me wants a change of scenery immediately after completing the Earl's pax mission, another sees the wisdom of continuing the original plan as intended. As it is, I see several obvious choices which become available as soon as the passenger mission is complete:
- Continue on as planned, finding a new route back to Ceos, collecting as many new system discoveries along the way. Original plan, but also the slowest.
- Go to Colonia instead. Collect as many new system discoveries along the way, sell carto data at Colonia, unlock some engineers. Be a tourist for while before returning to the Bubble.
- Go to either Ceos or Colonia, but at top speed, skipping new FSS scans in lieu of much quicker change of pace. (quickest)
- Go to SagA before going to Colonia or back to Ceos. (riskiest)
On to Colonia
I completed the passenger's mission. It made for an interesting photo or two, and then it was time to move on.
It didn't take me long to realize I wanted the mission to be done, but I wanted to land at a station even more. After looking at the galaxy map, I realized how close to Colonia I really was. I made the decision to go there at top speed, stopping for nothing, and doing no more than a system "honk" on my way through.
The final approach to Colonia was beautiful and long-awaited. Moments before arriving at the station, I was interdicted. It happened so close to the station that I thought I might be thrown into it or the nearby planet but I managed to keep my cool and escape. After landing I immediately visited the Cartographics office and sold off my data.
I won't pretend that I was overwhelmed with the amount of money I made. I discovered over 3,700 total planetary bodies in total and earned over $105 million from the Cartographics data. $100-million is nothing to sneeze at, I assure you, but considering a skillful miner can make the same amount or more in about 2 hours of platinum mining, and considering this expedition took me actual days to complete, there's no financial comparison.
On the other hand, what you see in 2 days of mining will not change from the view you saw in the first 2 minutes of mining, whereas, I really did see some interesting things on this trip. I believe exploration is in my blood more than any other ED activity, and even though it doesn't make the best income, it provides the experience I came to ED for in the first place: exploring the universe.
Heading Home
There are a few practical things to accomplish in Colonia. Might as well unlock the available engineer. Have a look around. But what I most want to do is get back on road. Now that this this leg of the journey is complete, I still need to get back to Ceos with my passenger. I've decided to make best speed back to the Bubble using the Colonia Connection Highway, and before I leave I want to make some adjustments to the ship. This time, there will be no exploration unless the opportunity literally presents itself to me. I don't need the SRV, and there are other ways I can trim down some unnecessary weight.
Opportunity presented itself in the strangest of ways. Colonia is pretty much a lawless system. You get interdicted and scanned a lot. My passenger, the "Earl" who has been with me for over 37,000Ly, had something of a mental breakdown over the ship being scanned, cancelled the already completed mission, and got off at the next station, the dirty womprat. Do I care? Not really. Now I can sell the passenger quarters and recoup some long-lost jump range! While I'm completely unconcerned about the money loss, it's a programming oversight: a passenger can skip paying the bill -- after the destination of 20,000Ly has been successfully reached AND for the pettiest of reasons (he was annoyed by a sound) -- it's probably not what the developer intended. In RL, such a passenger would be charged as a thief or scammer or both, and if the game is to allow such a thing, I wish it also would allow me to track him down like a bounty hunter I am

I refitted the Phantom quite considerably for the trip home. After removing everything unnecessary and downsizing the fuel tank, I have added 10 more light years to my jump range, for a total jump range of 71.5Ly. Though it seems crazy to go so far with a small fuel tank, in reality I'm only using KGBFOAM stars in a straight line home. I still have enough fuel for 3.5 jumps and I'm at 100% Jumponium stores.
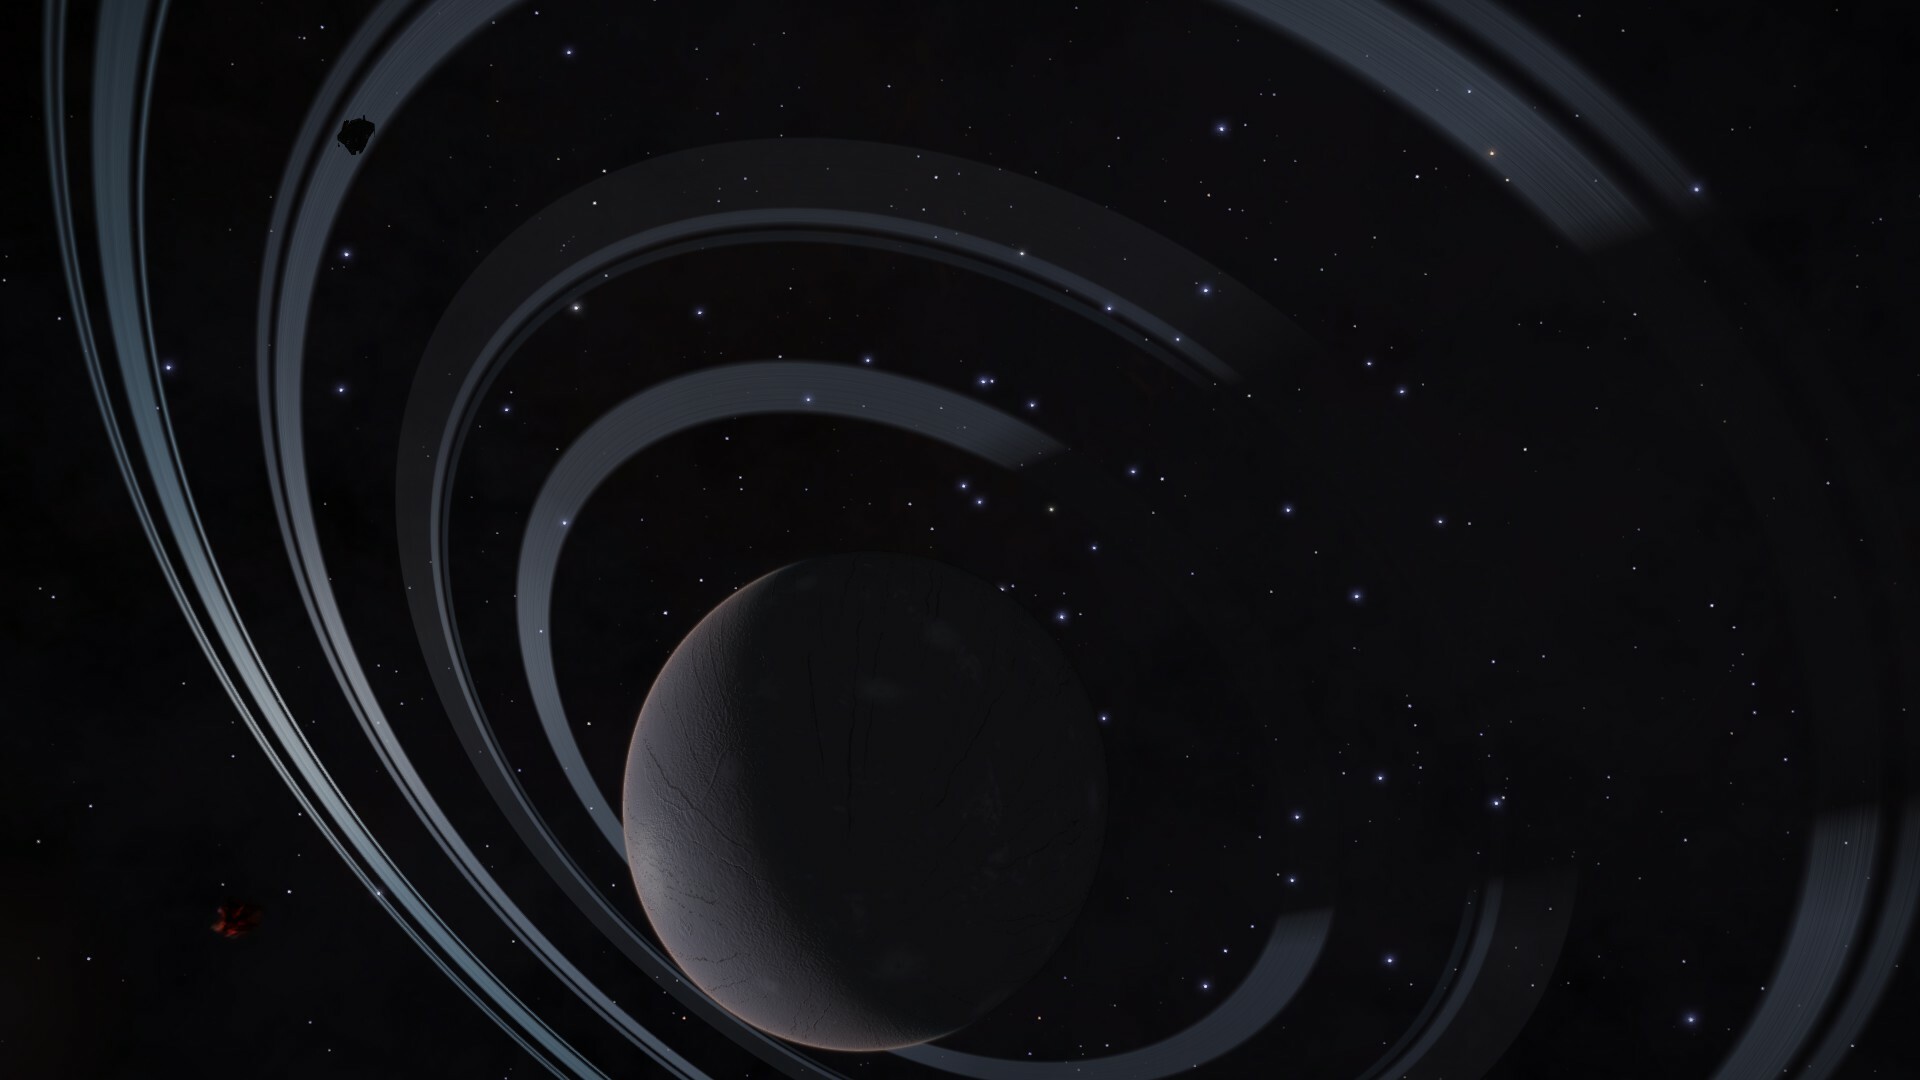
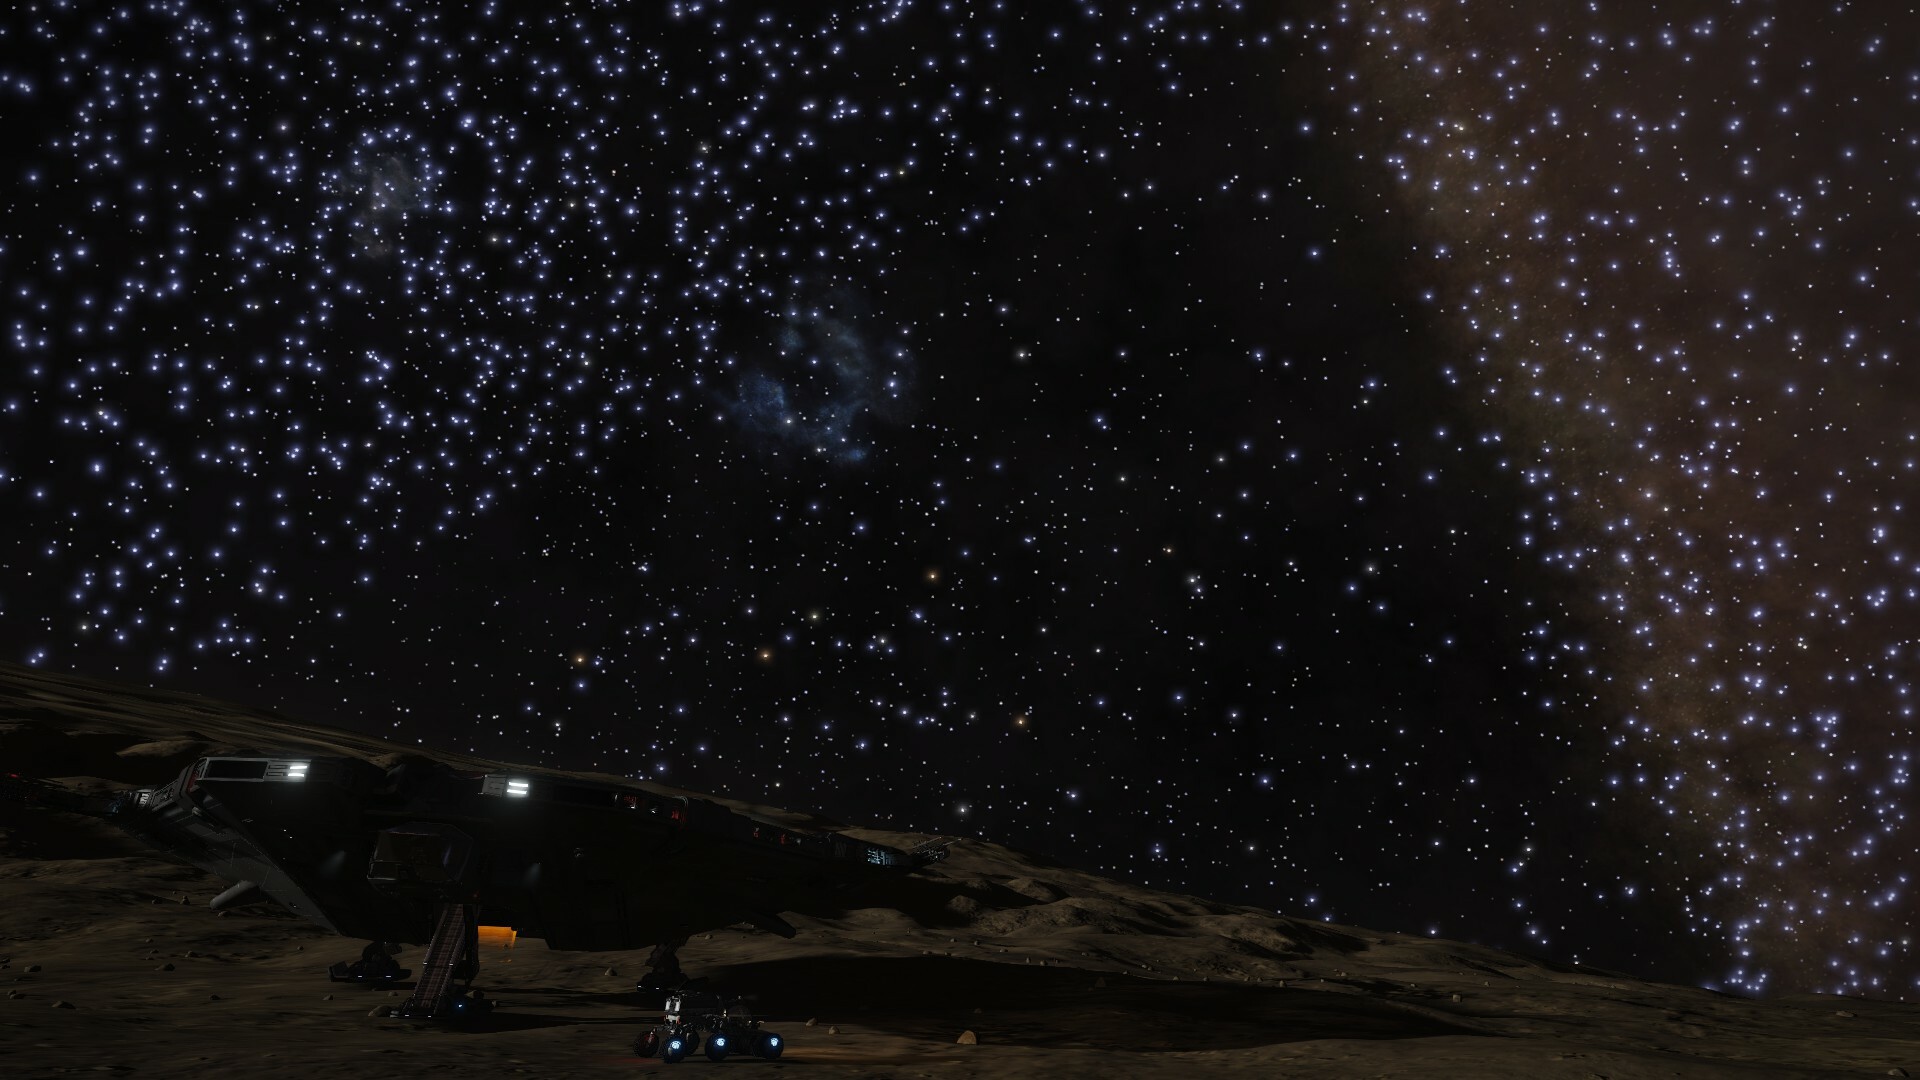
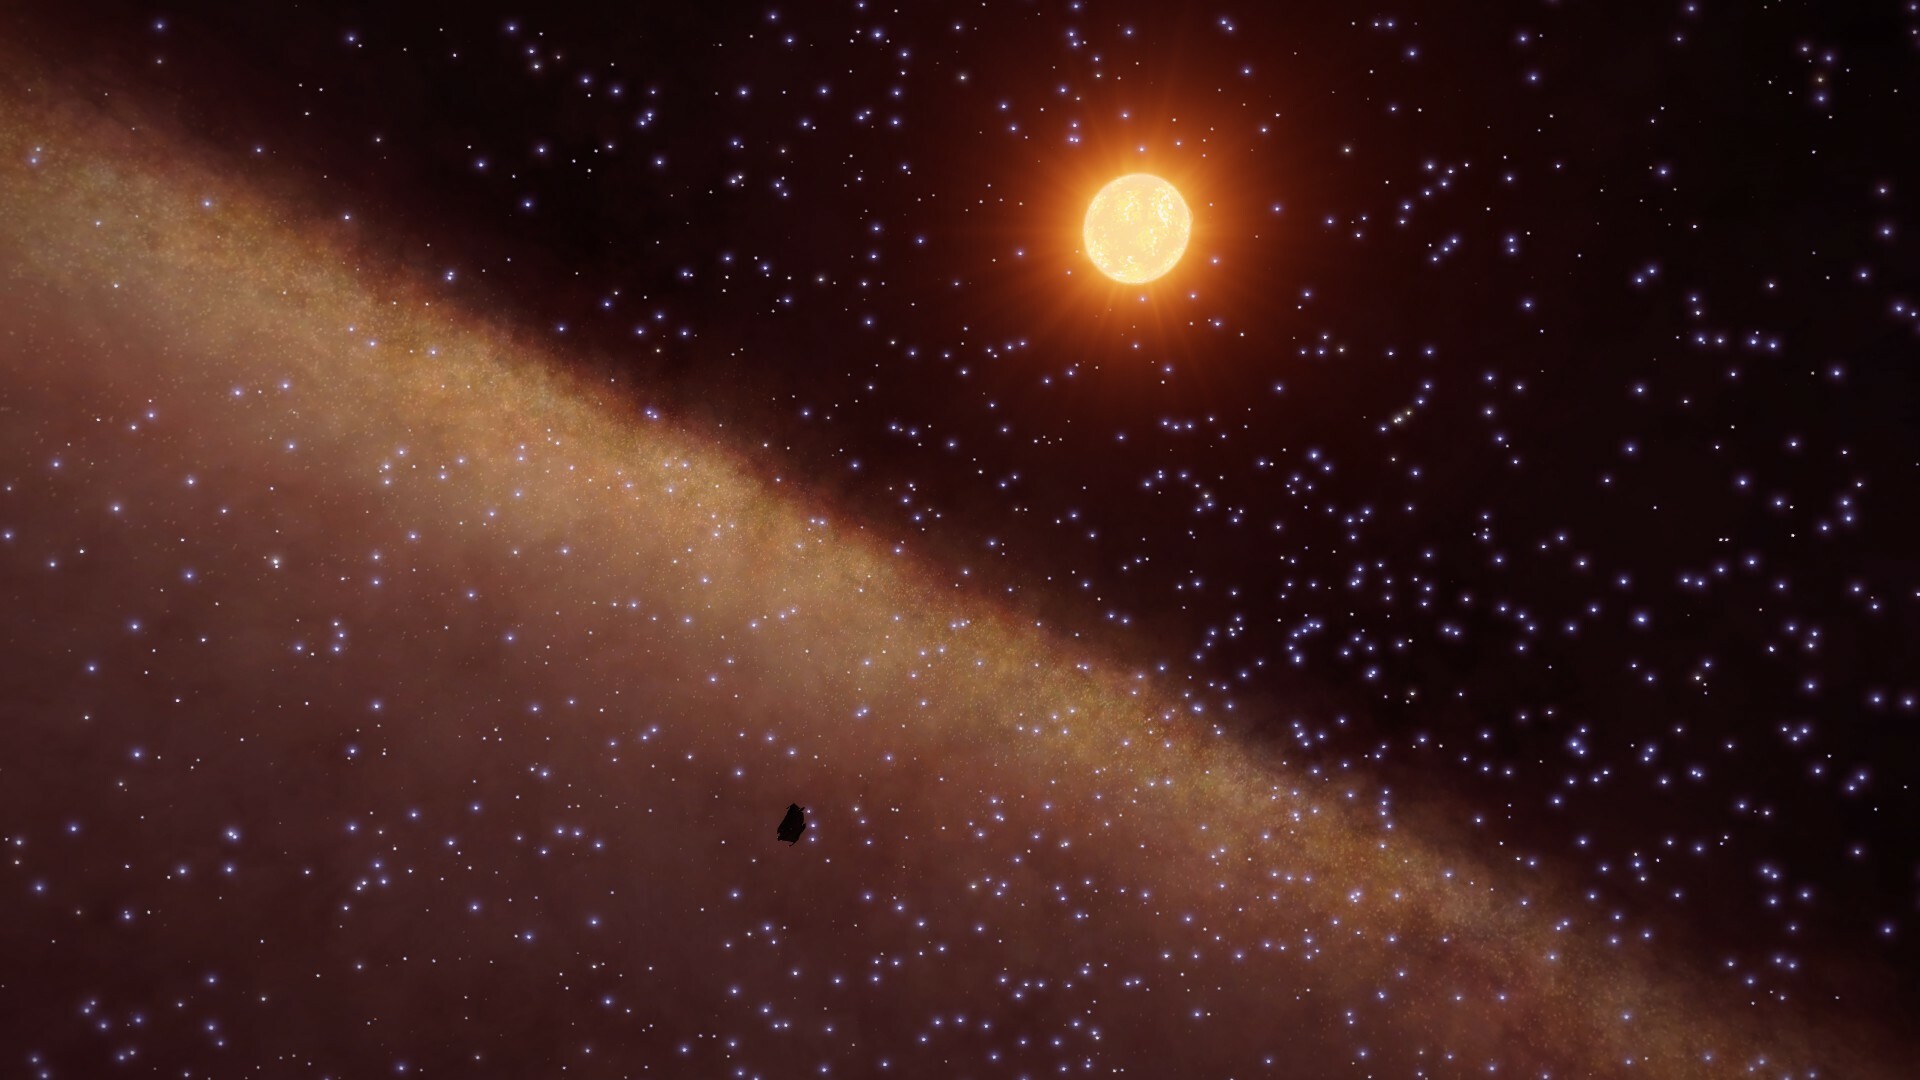
Images
This log entry is long enough without images, so I've begun posting them in the Gallery to save space.
Comments & Lessons Learned
(ongoing, still adding new entries as I think of them)
- Exploration can earn significant coin, but it pales in comparison to the earnings potential of other activities (like mining). Really, there's no comparison. Do exploration for the sake of exploration and you shouldn't be too underwhelmed by the earnings potential.
- Spend real time thinking out your exploration ship. It's tempting to bring things like an SRV for screenshots and ambiance, but in 37,000Ly of travel, I only used my SRV a small handful of times. At no time did I require it and could have trimmed considerable weight off the ship by not bringing it. I kept 2 PD turrets installed because they weigh a fraction of a ton, so, hey, who cares? After 50,000Ly of travel, any fraction of a ton impacts how far you could have gotten to the next step of your journey. Really think about it. Do you NEED it? If you just WANT it, will you still be happy to be lugging it around 25,000 Ly from now, especially once you realize you've never used it once and never will? Think hard before you bring it. Some toys sound great at the start of a journey, but you begin to resent the dead weight after a few thousand Ly.
- Low-Emissions vs. Overcharged power plants: Many explorers default to a small overcharged power-plant to trim weight and add jump range, but I have been trending towards slightly heavier Low Emissions plants. The reason is because Low-EM dramatically improves heat-dissipation during fuel-scooping, and reduces the distance needed to travel away from a star before re-engaging the FSD. This directly reduces the # of seconds it takes to jump from system to system, increasing distance traveled over time. Explained further:
- People tend to focus on jump range as a primary statistic in an Exploration ship. While true, it's only half of the equation. The other half is time; specifically, the amount of time it takes to (a) arrive in a new system, (b) refuel, (c) recharge fsd, and (d) jump out. That part is often overlooked but you can actually build your ship to maximize jump range and minimize jump times. In practical testing, I was able to increase my jumps-per-hour from 62/hr (62Ly range) to 74/hr (71Ly range), simply by re-arranging a few components, using LowEM power plants, and re-thinking the way I refuel. That explanation requires its own topic, which I will explore soon in a future log entry.
- All ship-build concepts are situational. What is profoundly game-changing in one situation may be completely unnoticeable in another. The previous two points regarding jump speeds are supremely important when you are in a hurry to get from one point to another as efficiently as possible. You'll never notice the benefit if you're scanning systems for new discoveries. Why? Because you'll be in system for a while. The only time the LowEM benefit becomes noticeable is once you want to cover distance fast. Then, not only will the difference be noticeable, it may save you literal hours of time. A good ship build needs to cover all mission requirements, and a core requirement for a long-range ship is the ability to get there as fast as possible when the need arises.